Last week we learned how to have great website photos and if you missed the post you should definitely check it out. This week we are going to discuss how to shoot your own website photos.
Updating your website photos can feel like a never-ending task and if you are like most business owners you don’t always have the budget or time to hire a professional photographer.
Luckily, taking your own website photos does not have to be rocket science.
No matter your skill level, there are some things you will want to keep in mind when approaching website photography. We have put together a list of tips and tricks for shooting your own website photos so that you can create images that sell.
This post assumes that you have an actual camera to shoot with. We will address using your smartphone to shoot website photos in a future post.
Suggested Gear for Shooting Your Own Website Photos
Thankfully, you do not need a ton of expensive photography gear to shoot those beautiful photos but you will need some basics.
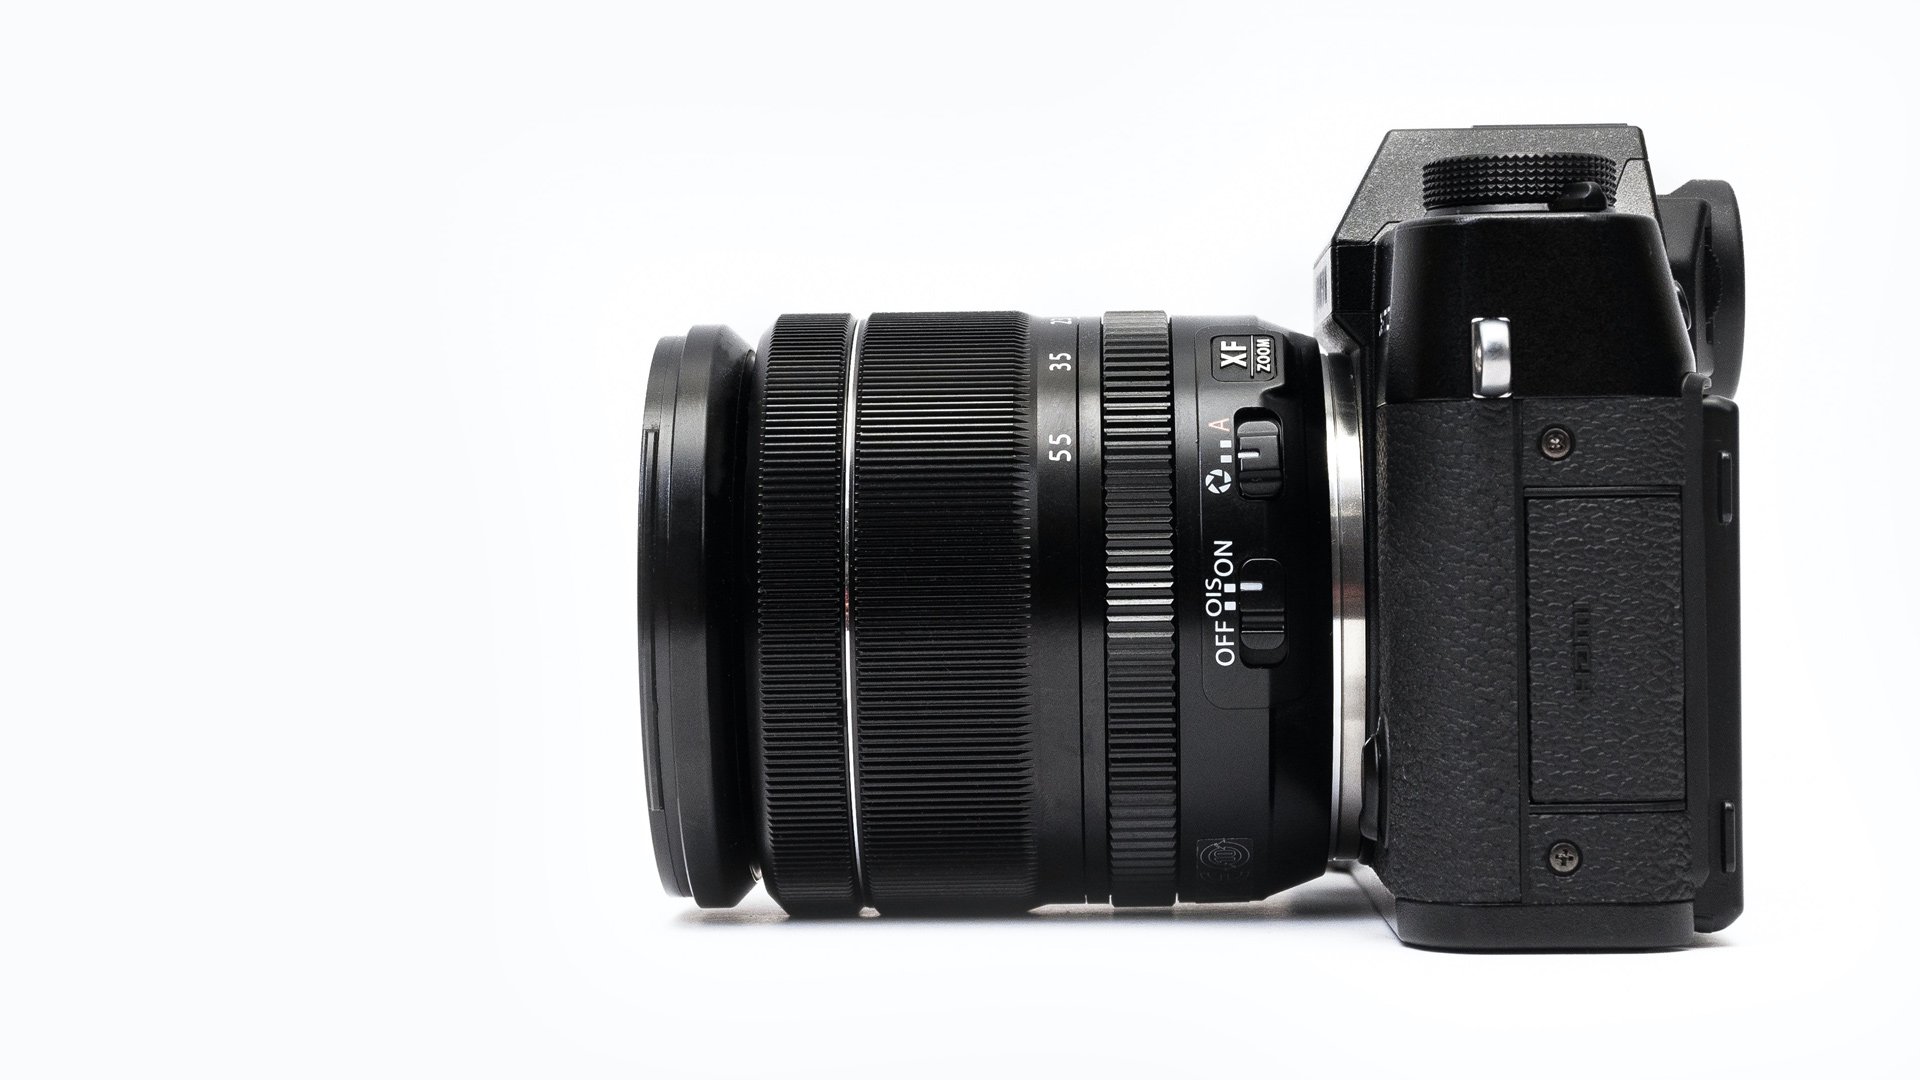
Camera: Your camera does not have to break the bank but we do recommend something a little nicer than an inexpensive point-and-shoot. We recommend using a DSLR or mirrorless camera.
If you aren’t sure which camera option is best for your needs, we recommend chatting with the team at B&H Photo. They are extremely knowledgeable and can recommend a camera for your budget.
Memory Card: Make sure to get a memory card for your camera. We recommend getting at least a 512GB card but the more memory you have, the more photos you can shoot. Memory cards come in different shapes and sizes so make sure you get one that fits your camera.
Tripod: A tripod stabilizes your shoots so they do not turn out blurry. This means you can set your shutter speed to any speed without worrying about a blurry photo. It also provides a way for team photos since you will be able to set the timer on your camera.
Solid Background: It does not matter if you grab white, or colored paper from a local art store or use a sheet of fabric, build an infinity curve, or a lightbox. This allows you to shoot products against an endless background and keep distractions out of the photo.
Foam Boards: You get the best results from shooting in natural light but if your images are coming out a little dark then you can use a white foam board to bounce light back onto your subject.
Plan the Photos You Will Need
Make a list of all the images your website needs. Think about your homepage, products/services, team photos, physical space, etc. When you have a list of the photos you need, you can better plan your photoshoot to get the correct shots.
Header Image: This is the first image your visitors see when they land on your website. It should reflect what you do and what your business is about. If you are a local coffee shop, try featuring a photo of your best-bagged coffee or a cup of coffee with your coffee house in the background. If you are a dog groomer, feature a picture of a dog being groomed.
Team Members: Website visitors love to see who they are going to be working with. Try taking a great team photo and pictures of each staff member. This also helps to give your business credibility and creates a level of trust between your business and your client/customer.
Physical Space: If you have a physical location then plan to shoot photos of it. People like to familiarize themselves with locations before they visit them.
Action Shots: If you run a restaurant or are a local carpenter, then shoot action pictures. We can all agree that seeing people at work adds to your story and shows that you and your team are hard workers.
Products/Services: This is why people are on your website. Think about how you can create an inspiring and eye-catching photo that will better promote them.
Find a Location
Whether you decide to create a DIY studio or shoot on location, make sure you keep it uncluttered and you are allowed to set up your equipment for the length of your photoshoot.
Find the Right Light
Lighting makes the difference between a great shot and a bad one. The biggest thing to look for is even light. That means the person or product facing the camera has even light from head to toe, there are no shadows or dark spots. If you notice a dark spot on your subject, pull out your foam board to reflect light back at the shadow.
If you are shooting indoors, find a bright spot with a lot of natural light.
If you are shooting outdoors, avoid shooting mid-day. Direct sunlight produces harsh shadows and causes scrunched-up faces which make for unflattering pictures.
Stand Further Away from Your Subject
Since modern websites are responsive and adjust to different screen sizes, some images are viewed at different sizes on different devices. This is particularly true for banner or header photos. Since these images are generally full width they will appear taller or shorter depending on the device. So for these images, we recommend shooting a horizontal image allowing extra space on the left and/or right of your subject.
Shoot Down When Possible
To get that flattering look of your subject, have the photographer get slightly higher than the subject. This will cause the photographer to angle the camera down slightly causing the subject to appear slimmer.
Setting Your Aperture, ISO, and Using a Tripod
The first thing you need to do is to set your aperture and the lower the number, the more light you allow in your camera. This sounds awesome but if you are shooting a group photo on f/2.0 then the subjects on the outer edges and/or the second row are going to appear blurry.
For product shots, we recommend taking your camera to the lowest available aperture on your camera. This creates a depth of field that generally looks more artistic and is what portrait mode on your phone does.
If you are taking a team photo we recommend using an aperture of at least f/4.0 to ensure everyone is in focus and make sure you focus on the person in the middle of the shot. If there are 3 rows of people, focus on the middle person in the 2nd row. Aperture works in a one-third two/thirds pattern. Meaning what you focus on, the one-third in front of the subject will be in focus and the two-thirds behind the subject will be in focus.
Once you have your aperture set you set your ISO. ISO is how your camera handles the light you allow in your lens. For ISO the higher the number, the more the light affects your image. So if you are shooting at f/2.0 you need a higher ISO.
We recommend keeping your ISO lower to help prevent noise and unsharp images. This is especially important if you are shooting indoors. If you find that your images are noisy or unsharp and you are unable to shoot outside, you can invest in lighting, and that will allow you to lower your ISO. Generally, it is not difficult to keep a lower ISO if you are shooting outside.
Create a Composition
Composition is how the elements of a photo are arranged. A good rule to remember when composing your shots is the rule of thirds. The rule of thirds divides your image into thirds so you would place points of interest on those plane lines. This creates a story in your photo and works great for banner/header images.
For headshots, go for symmetry and keep your subject straight on.
The great news about digital cameras is you can shoot as many photos as your memory card will store. So if you are not getting the shot you want, try moving the camera around and reframe it.
Professional photographers are not the best because they have good equipment. They are the best because of their experience from learning and practice. The more photos you take and the more you practice, the better your website photos will be.
Shoot in RAW
Your camera is automatically set to shoot and save images as a JPEG which isn’t terrible but your camera instantly compresses that JPEG. That means some of the information from the image is lost in order to make the file size smaller. A way to get around that is by shooting in RAW. Even though the file is larger, it keeps more detail in the image. This makes a difference when it comes to editing the photo. You will have more options and control over the end result.
Organize Your Photos
It’s always more fun taking your own website photos than it is organizing them. Our suggestion for organizing your website photos would be to create a folder with the year and then create additional folders such as team photos, products/services, exterior shots, etc. We would even break down the product/service folder and include folders for each product.
This may seem like a lot of work but when you are looking for that specific product image, you are able to find it very quickly because you created a nice file structure.
Make sure you back up your photos. Computers are known to crash so we recommend storing your images on an external hard drive as well as somewhere like DropBox or Google Drive.
Editing Apps and Software
In order to get the professional look you are going for, your photos have to be edited. This is particularly important if you are able to shoot in RAW.
Great photo editing apps include Photoshop, Adobe RAW, Lightroom, or Apple software. If you do not have any of these programs there are free editors online.
Personally, we use Lightroom because it is easy to copy and paste photo edits from one photo to another photo. In addition, we can create or install presets that allow us to quickly edit our photos. If those reasons weren’t enough, we can also sync our photos between our computer, tablet, and phone. This is convenient for when we need to access photos on different devices or quickly create a social media post.
We hope these tips and tricks help you shoot your own website photos and give your website the stunning photos that it deserves.
If you haven’t read our other website photography posts be sure to check them out. In our previous posts, we have talked about: What Makes a Great Website Photo, How to Shoot Your Own Website Photos, How to Hire a Local Photographer, and Top Websites for Free and Paid Stock Photos and Videos for Your Website.